Alginate molding is a popular technique in various fields such as sculpture, special effects, and prosthetics, primarily due to its flexibility, ease of use, and ability to capture fine details. Whether you are a hobbyist or a professional, mastering the art of alginate molds can significantly enhance your projects. In this article, we will cover essential tips and best practices for creating successful alginate molds that are both efficient and effective.
Understanding Alginate: The Basics

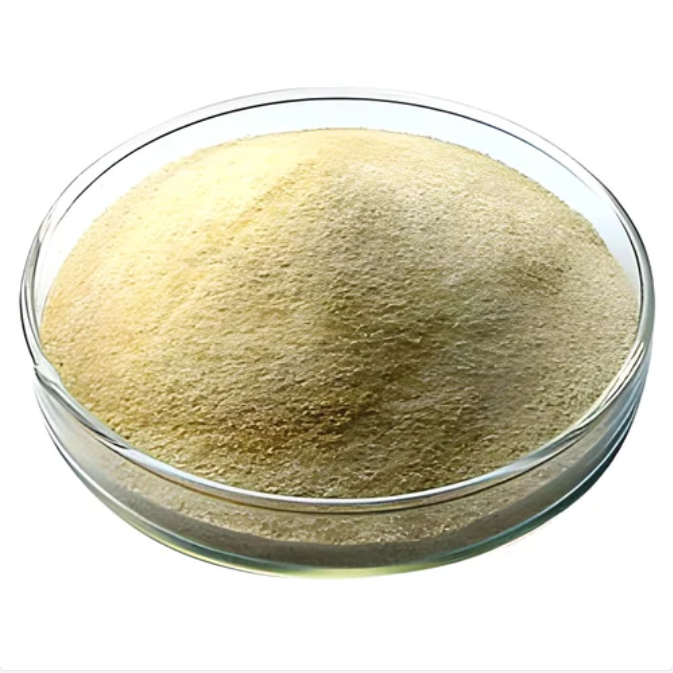
Alginate is a natural polymer derived from seaweed, commonly used for making molds due to its unique properties. It is non-toxic, skin-safe, and captures intricate details remarkably well. Alginate is often used for making impressions of body parts, objects, and even life casts.
Choosing the Right Alginate for Your Project
Not all alginates are created equal. Choosing the right type can significantly affect the outcome of your mold. Here are some factors to consider:
- Setting Time: Alginate comes in various setting times, typically ranging from 3 to 10 minutes. For detailed work, consider a slower-setting alginate that gives you more time to work.
- Detail Capture: Some alginates are formulated for superior detail capture. Look for alginates specifically advertised for fine detail.
- Mixing Ratios: Pay attention to the mixing ratios specified by the manufacturer, as this can affect the viscosity and final results.
Preparing Your Workspace
Before diving into the molding process, a well-prepared workspace can save you time and improve the quality of your mold. Here are some tips:
- Clean Area: Ensure your workspace is clean and free from any debris that could contaminate your mold.
- Gather Materials: Have all necessary materials at hand, including alginate, mixing containers, spatulas, and support shells.
- Protect Surfaces: Use drop cloths or newspaper to protect surfaces from spills and stains.
Mastering the Mixing Process

Getting the mixing process right is crucial for the success of your mold. Here are some steps to follow:
- Measure Accurately: Use a scale for precise measurements. Inaccurate ratios can lead to weak molds.
- Mix Thoroughly: Use a spatula to mix alginate and water thoroughly, ensuring there are no lumps.
- Work Quickly: Alginate sets quickly. Mix and pour as soon as possible after achieving a smooth consistency.
Creating the Mold: Step-by-Step Guide

Once you have your alginate mixed, it’s time to create the mold. Follow these steps for optimal results:
- Prepare the Object or Body Part: If you are molding a body part, ensure it is clean and free of lotions or oils. For objects, clean any dust or debris.
- Apply Release Agent: If necessary, use a release agent to prevent the alginate from sticking to the object.
- Pour the Alginate: Pour the mixed alginate over the object or body part evenly. Ensure complete coverage.
- Encapsulate the Mold: For larger molds or when using alginate as a base, use a support shell (like plaster bandages) to hold the shape of the mold.
Common Mistakes to Avoid

Even seasoned mold makers can make mistakes. Here are some common pitfalls to avoid:
- Insufficient Mixing: Failing to mix alginate thoroughly can lead to weak spots in the mold.
- Ignoring the Setting Time: Not accounting for the setting time can result in rushed work and a poorly detailed mold.
- Forgetting to Use a Release Agent: This can cause the mold to stick to the object, damaging both the mold and the original.
Demolding Techniques: Getting It Right

Removing your mold from the original object requires care to prevent damage. Here’s how to do it:
- Allow Full Cure: Wait for the alginate to fully set before attempting to remove it. This is usually indicated by a firm texture.
- Careful Removal: Gently peel the mold away from the original object. Take your time to avoid tearing.
- Use Water for Easier Release: If the mold sticks, using a little water can help ease the release.
Post-Mold Care and Storage
After demolding, proper care and storage can extend the life of your alginate mold:
- Rinse Immediately: Rinse the mold with water to remove any residues of the original object.
- Dry Carefully: Pat the mold dry with a clean cloth. Do not wring it out, as this can distort its shape.
- Store Flat: Store the mold flat in a cool, dry place to prevent warping.
Using Your Alginate Mold: Tips for Casting
Once your mold is ready, you can use it for casting. Here are some tips for successful casting:
- Choose the Right Casting Material: Depending on your project, you can use plaster, resin, or silicone.
- Prepare the Mold: Apply a release agent suitable for your casting material to prevent sticking.
- Pour Carefully: Pour your casting material slowly to avoid air bubbles and ensure even distribution.
Case Studies: Successful Alginate Mold Projects
Learning from successful projects can inspire your own work. Here are a couple of examples:
- Body Casting for Special Effects: A special effects artist used alginate to create lifecasts of actors for a film. By using a slower-setting alginate, they were able to capture intricate facial features, resulting in realistic prosthetics.
- Artistic Sculptures: A sculptor utilized alginate molds to create limited edition sculptures. After making the original piece, they created multiple casts from the alginate mold, allowing for mass production while maintaining quality.
Creating successful alginate molds requires careful preparation, attention to detail, and an understanding of best practices. By following the tips outlined in this article, you can enhance your mold-making skills and achieve better results in your projects. Remember to choose the right alginate, prepare your workspace, mix effectively, and avoid common mistakes. With practice and patience, you can master the art of alginate molding and unlock endless creative possibilities.